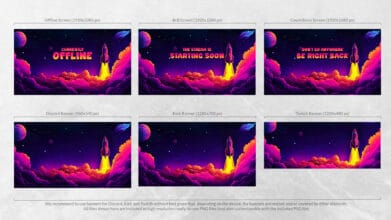
Banners & Screens
FEATURES OF OUR TWITCH BANNERS & SCREENS
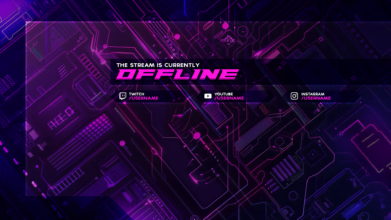
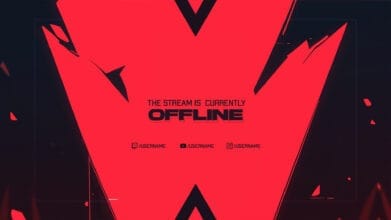
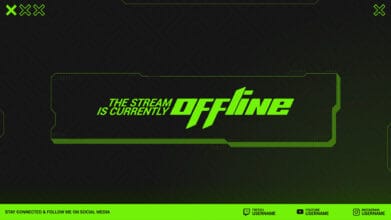
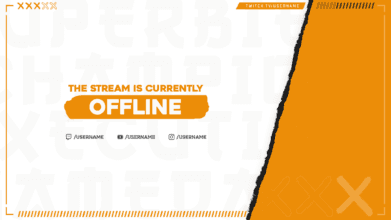
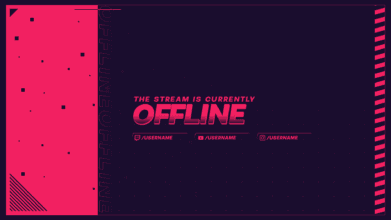
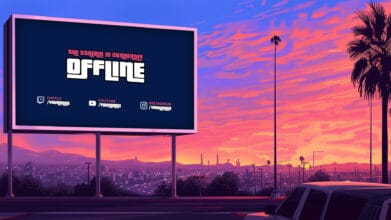
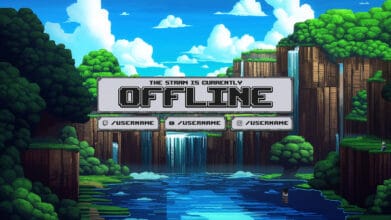
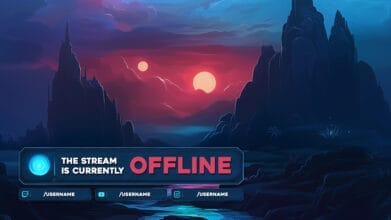
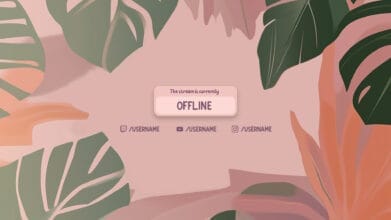
Twitch banners and scenes (also called screens) are fundamental components of any stream's design. The banner serves as a prominent feature on your profile, displayed alongside highlights. Scenes, on the other hand, are showcased on your main stream page during various moments such as when you're offline, transitioning, taking a short break, or displaying a countdown for your stream's start time. These design elements play a crucial role in branding, engaging viewers, and creating a cohesive and professional streaming experience.
Graphicarea provides an array of Twitch banners and scenes tailored for diverse purposes, all featuring stunning designs. These elements not only enhance the visual appeal of your stream but also garner appreciation from your viewers. With Graphicarea's offerings, you can elevate your streaming experience with professional and captivating designs that leave a lasting impression on your audience.
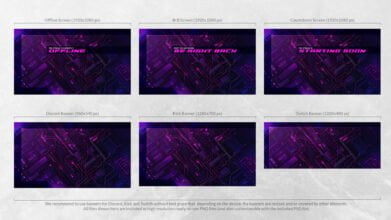
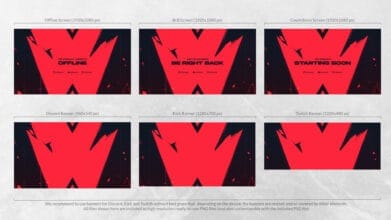
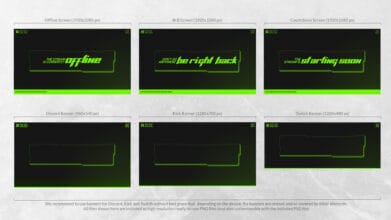
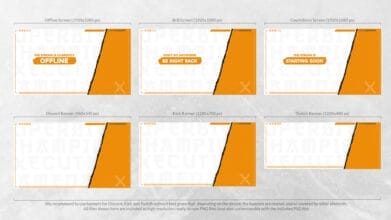
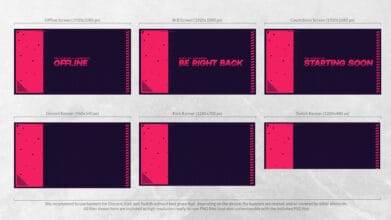
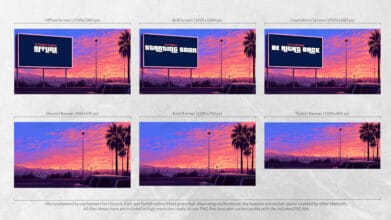
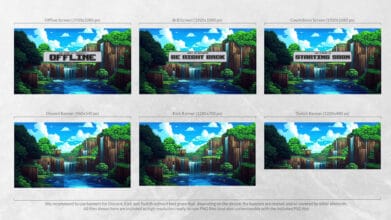
Graphicarea goes above and beyond by offering a comprehensive bundle with each Twitch Banner & Scene product. You get a Twitch banner and a Discord banner, along with three versatile scenes for offline, be right back (BrB), and countdown moments. But that's not all- Graphicarea also provides matching designs for other essential streaming elements like Twitch overlays, panels, and logos.
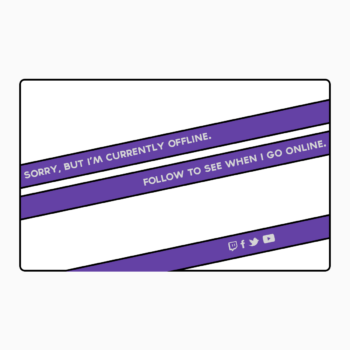
DO'S AND DONT'S OF TWITCH BANNERS & SCREENS
FREQUENTLY ASKED QUESTIONS
The recommended size for a Twitch banner is 1200 pixels wide by 480 pixels tall. However, it's important to keep in mind that Twitch adjusts the size of the banner depending on the user's device and resolution, so it's best to center important elements within this space to ensure they remain visible and legible across various platforms.
A good Twitch banner serves as a visual representation of your channel's identity and content. It should incorporate elements such as your logo, channel name, or relevant imagery to effectively communicate what your stream is about. Ensuring visual cohesion by using consistent colors, fonts, and design elements helps create a professional and memorable impression. Clarity is key; keep the design clean and uncluttered, avoiding excessive text or distractions that could overwhelm viewers. Additionally, consider including a call to action, prompting viewers to follow, subscribe, or engage with your content further. Ultimately, a high-quality Twitch banner should capture attention, convey information, and encourage viewers to explore your channel further.
To set up an offline screen on Twitch, follow these steps:
- Download your Offline Screen: Download your desired banners and screens from Graphicarea. If you wish, you can further customize the design by changing, colour, text, icons or something else.
- Save your Offline Screen: Once you've finished designing your offline screen, save it as an image file (e.g., PNG or JPEG) with the appropriate dimensions (recommended size is 1920 pixels wide by 1080 pixels tall).
- Access your Twitch dashboard: Log in to your Twitch account and navigate to your Twitch dashboard. Go to Settings: In the dashboard, click on your profile icon in the top right corner and select "Creator Dashboard" from the dropdown menu.
- Navigate to channel settings: In the Creator Dashboard, locate and click on the "Settings" tab on the left-hand side.
- Upload your Offline Screen: Scroll down to the "Channel" section and find the "Offline Image" option. Click on "Choose File" or "Upload" to select the offline screen image file from your computer.
- Save changes: After uploading your offline screen, click on the "Save Changes" button to apply the new offline screen to your Twitch channel.
- Preview your Offline Screen: To ensure that your offline screen looks as expected, you can preview it by going to your Twitch channel when you're offline.
Once you've completed these steps, your offline screen will be displayed to viewers whenever you're not live, providing them with important information and maintaining engagement with your channel even when you're not actively streaming.
The recommended size for an offline screen on Twitch is 1920 pixels wide by 1080 pixels tall. This size ensures that the offline screen looks crisp and clear on various devices and resolutions. Creating your offline screen with these dimensions will help maintain a professional appearance and effectively communicate important information to your viewers when you're not live.
To add a "Be Right Back" (BRB) scene to your Twitch stream, follow these steps:
- Download your BRB scene: Use graphic design from Graphicarea and further customize the file if desired by adding your name, changing the text, colour or any icons. Design it with a "Be Right Back" message, along with any additional elements you want to include, such as your logo, social media links, or a countdown timer.
- Save your BRB scene: Once you've finished designing your BRB screen, save it as an image file (e.g., PNG or JPEG) with the appropriate dimensions. The recommended size is typically the same as your stream resolution, often 1920 pixels wide by 1080 pixels tall, but you can adjust this based on your preferences.
- Set up your streaming software: Open your preferred streaming software (e.g., OBS Studio, Streamlabs OBS, XSplit) and add your BRB screen as a new scene.
- Add your BRB screen as a scene: In your streaming software, click on the "+" or "Add Scene" button to create a new scene. Name the scene something like "BRB" or "Be Right Back".
- Add your BRB image source: Within the BRB scene, add your BRB screen image as a source. Click on the "+" or "Add Source" button, choose "Image", and then select the BRB screen image file from your computer.
- Test your BRB scene: Preview your BRB scene within your streaming software to make sure everything looks as intended. You can switch to this scene during your stream whenever you need to take a break or step away temporarily.
- Activate your BRB scene during breaks: When you're ready to activate your BRB scene, simply switch to it in your streaming software. You can do this manually by selecting the BRB scene from the scene list.
By following these steps, you can easily add a "Be Right Back" screen to your Twitch stream, providing a professional and informative experience for your viewers when you need to take a short break.

