How to Implement Panels on Twitch
Step by Step Guide on How To Implement Panels on Twitch
Eager to set up panels below your Twitch stream? This guide will walk you through every step and reveal all the settings you need to make your stream look more professional. Let’s get started and make your stream shine!
Select the Twitch Panels you want to use
Before you start setting up your panels, it’s important to know which panels you want to upload. Ensure each panel has a width of 320px, a maximum height of 600px, and a file size of less than 1 MB.
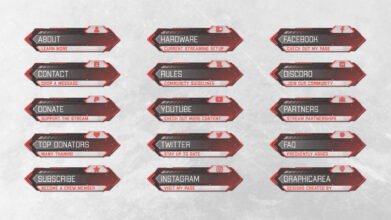
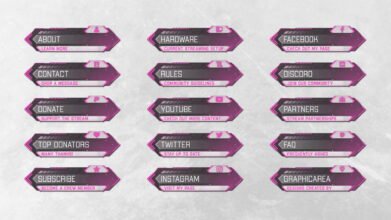
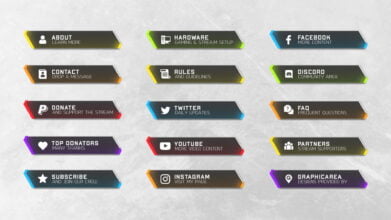
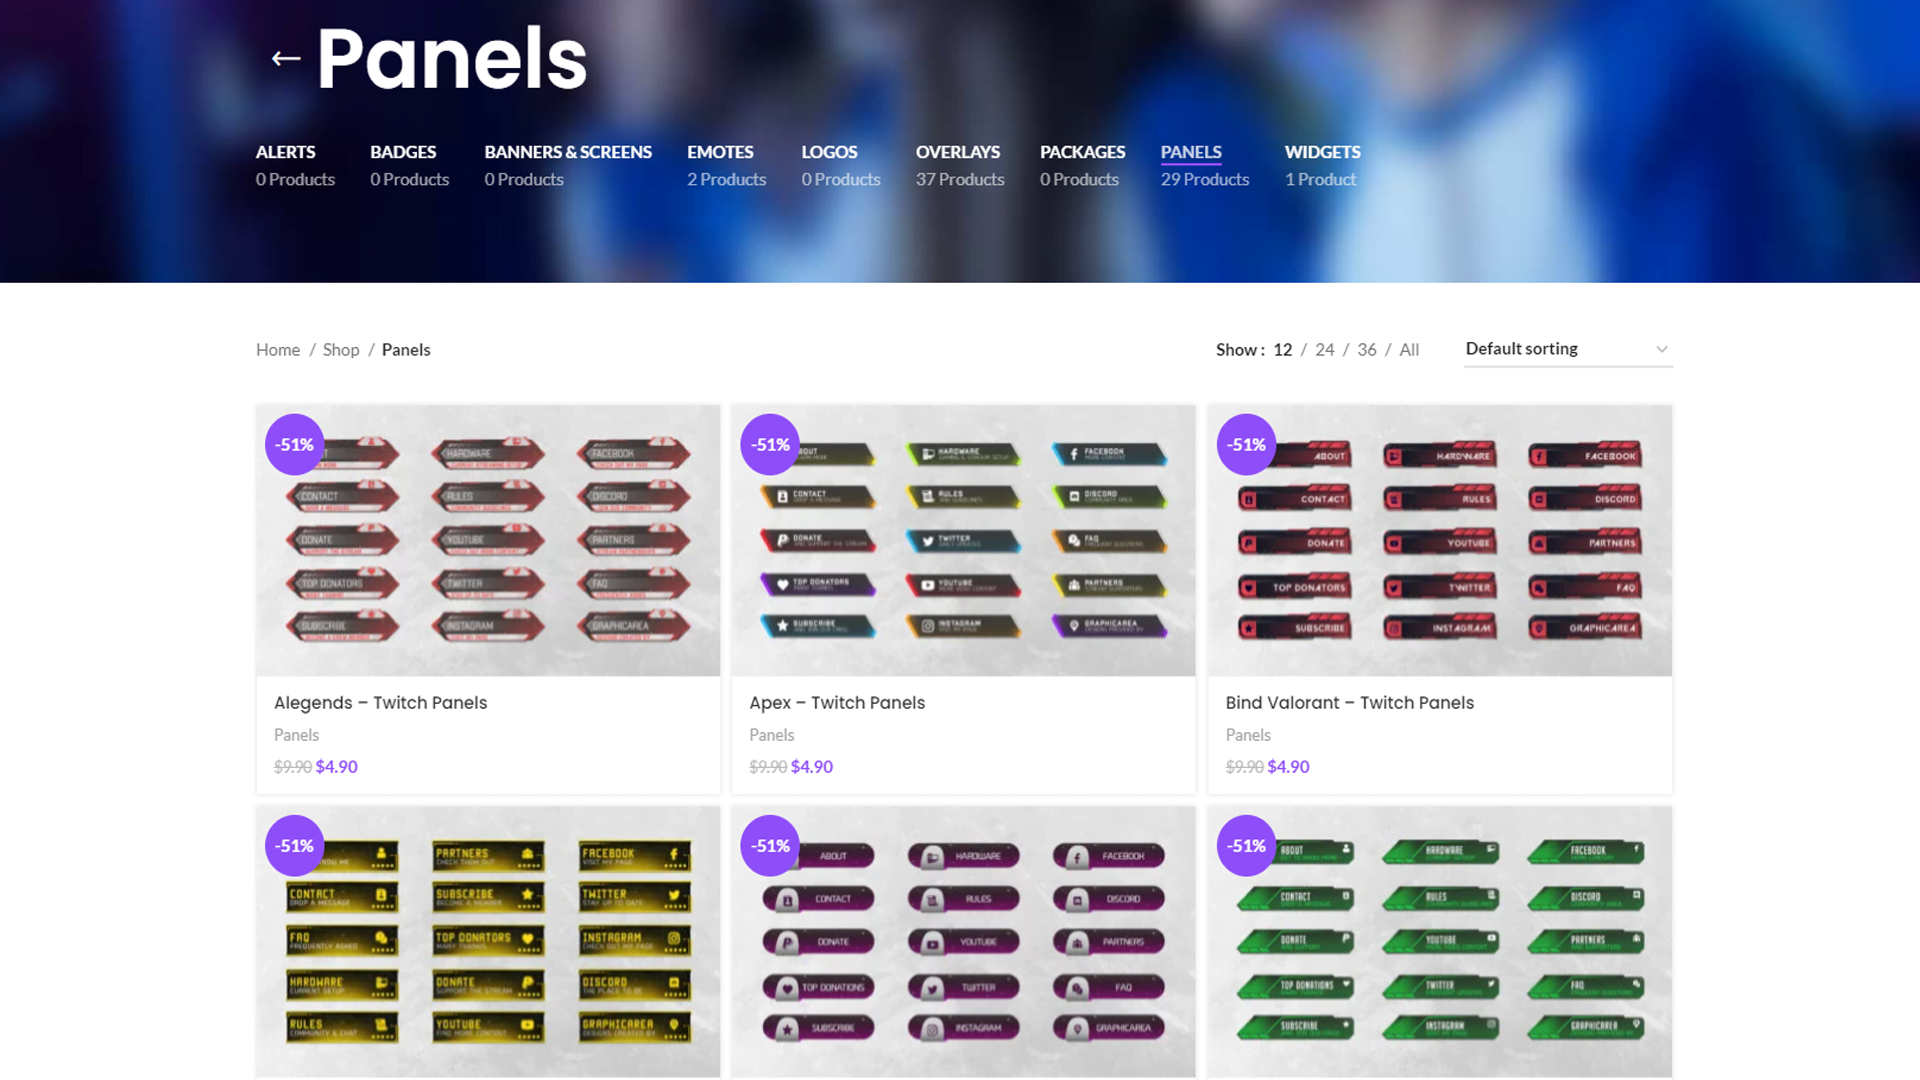
Graphicarea offers a broad selection of over 50 beautiful Twitch Panels that you can download and use immediately. Check them out here.
Navigate to the panels section
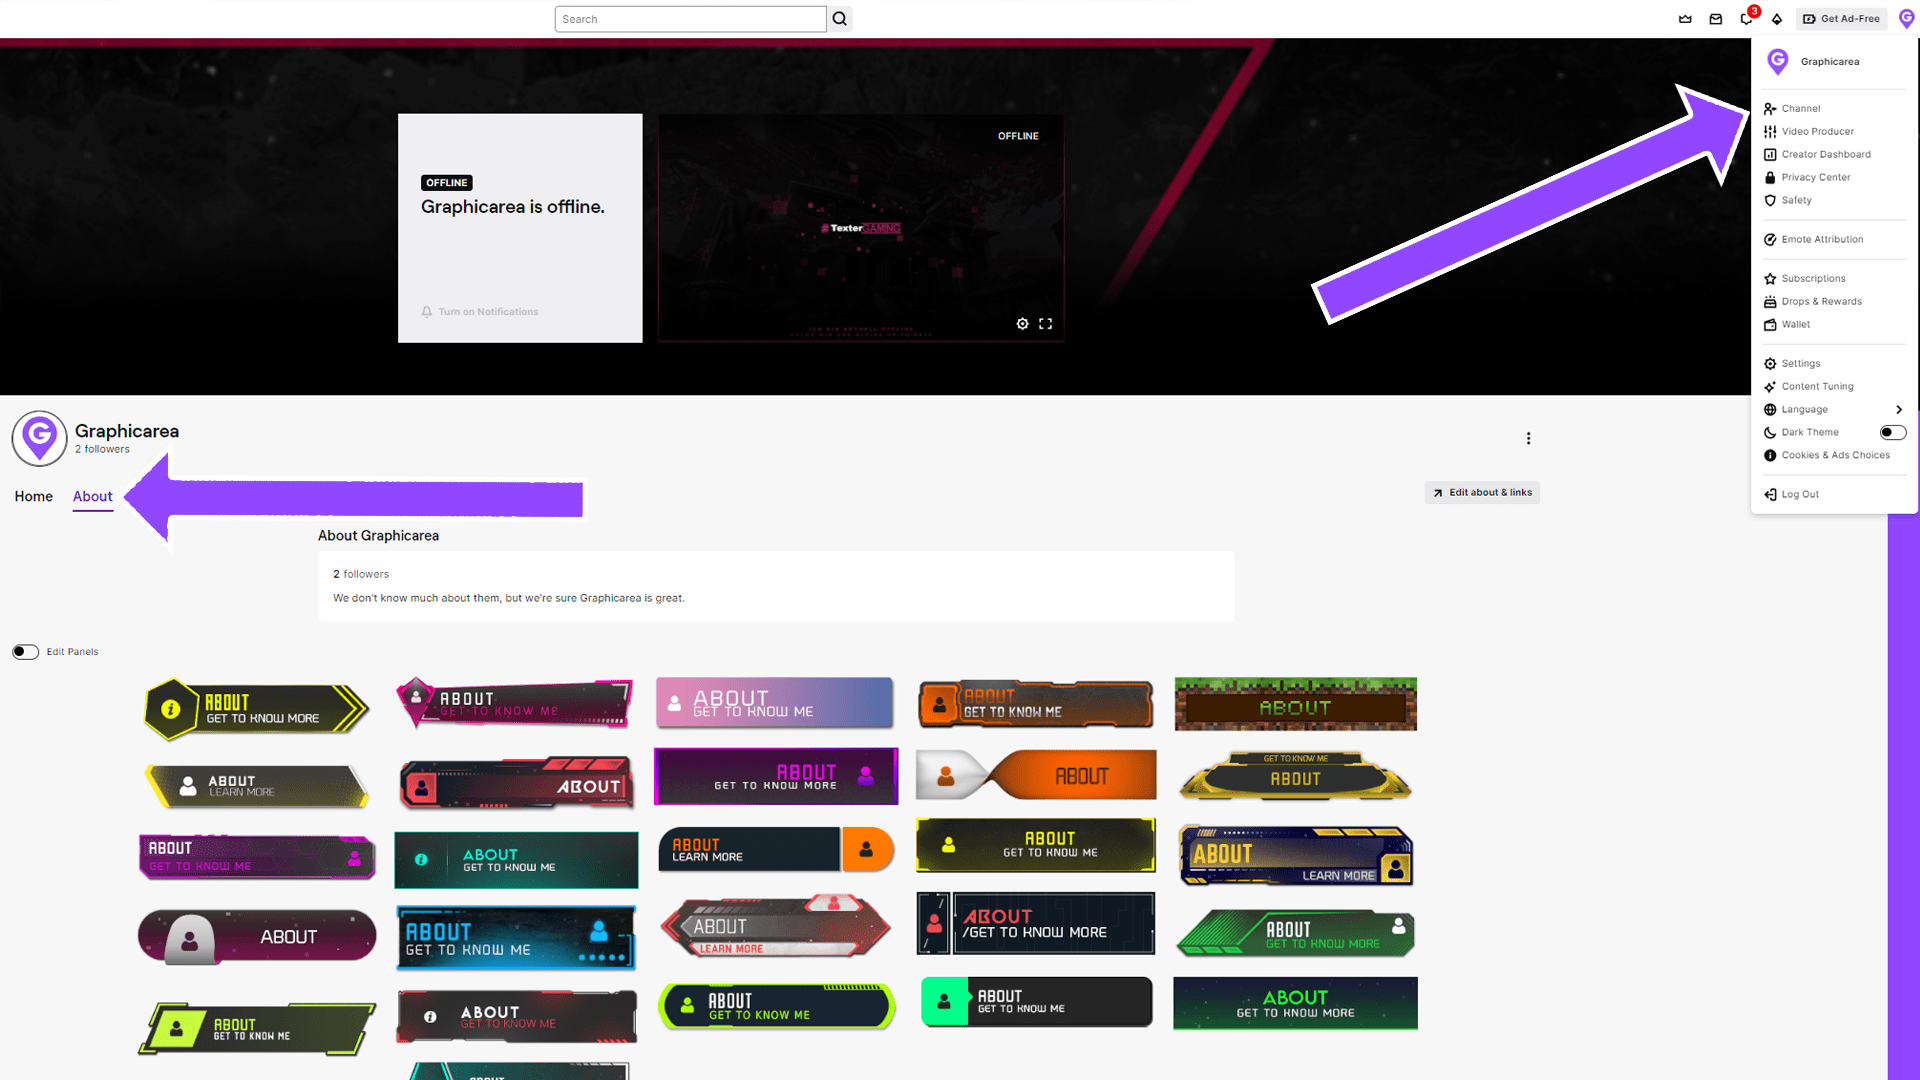
On Twitch.tv, navigate to the top right corner and click on your profile picture to open the dropdown menu. Select the first item, “Channel”. This will take you to your channel’s home screen. To access the panels section, click on the “About” tab.
Enable panel editing mode
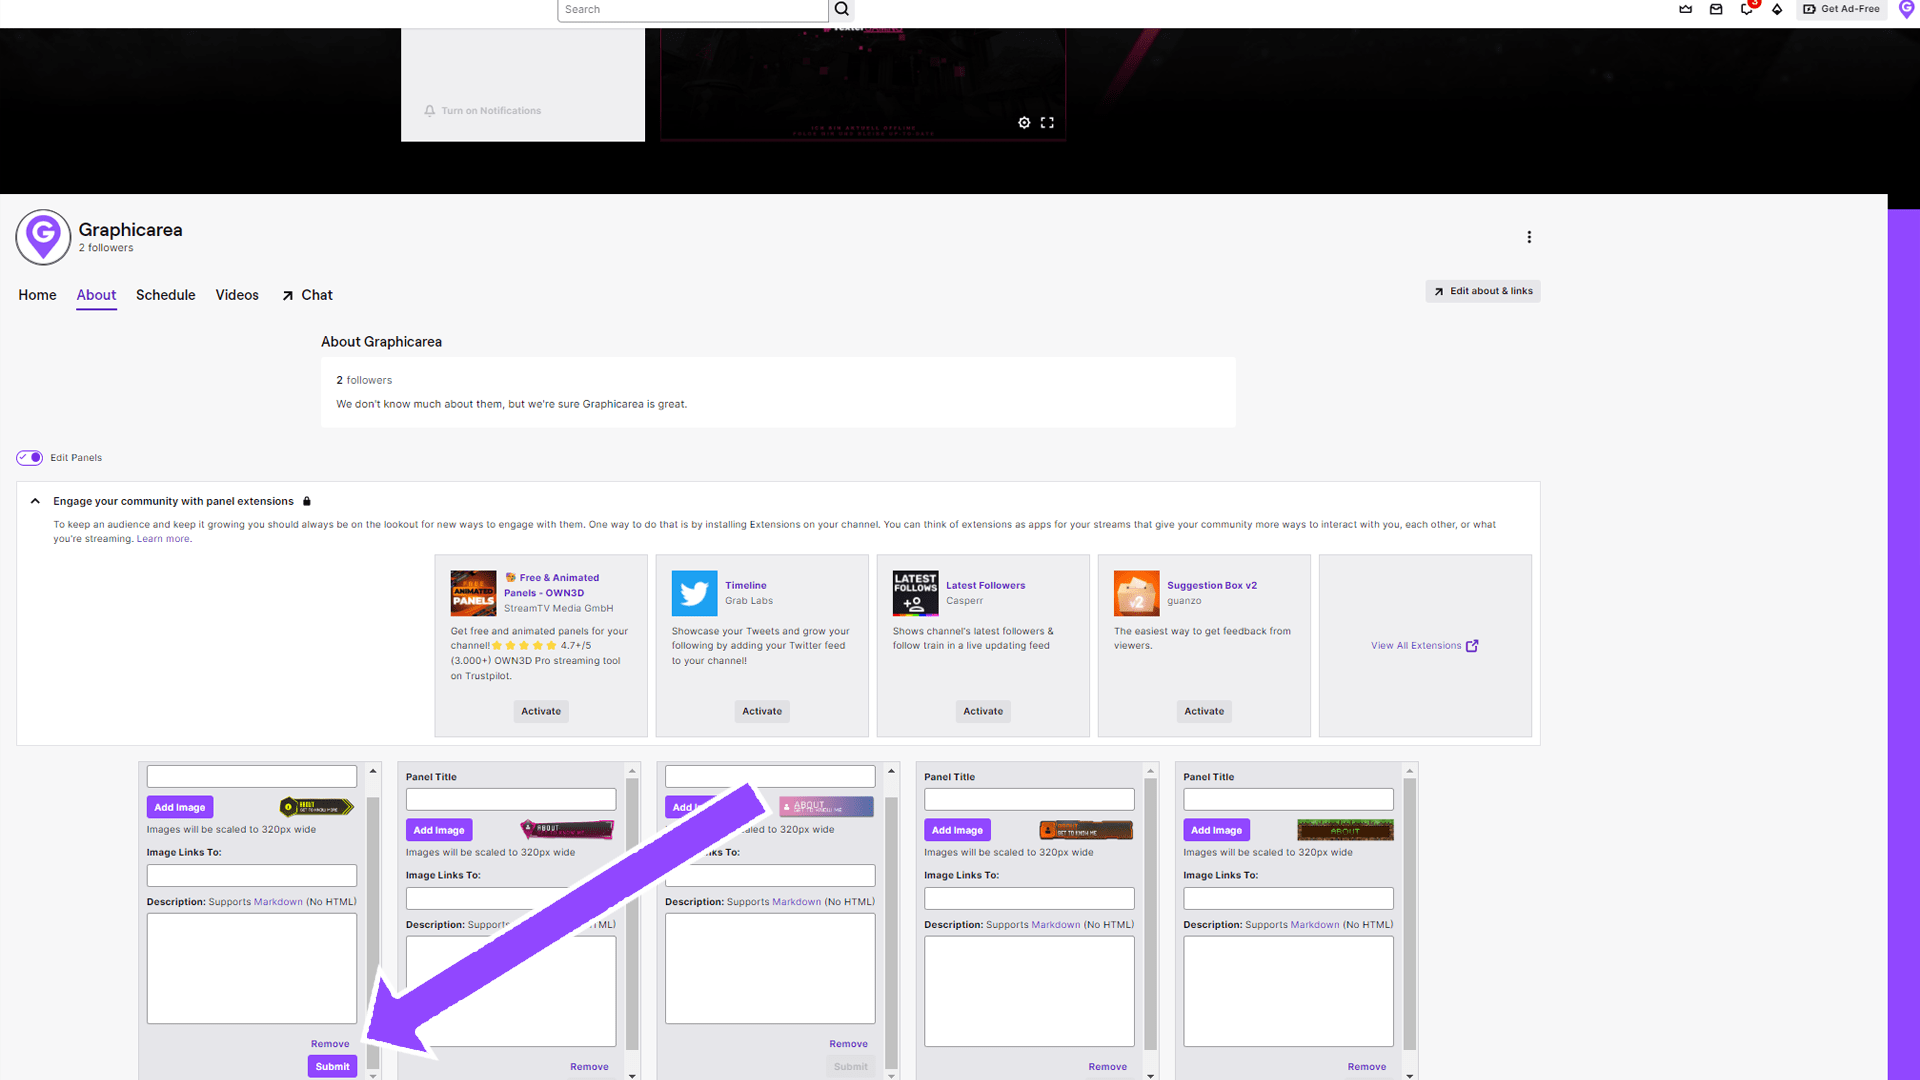
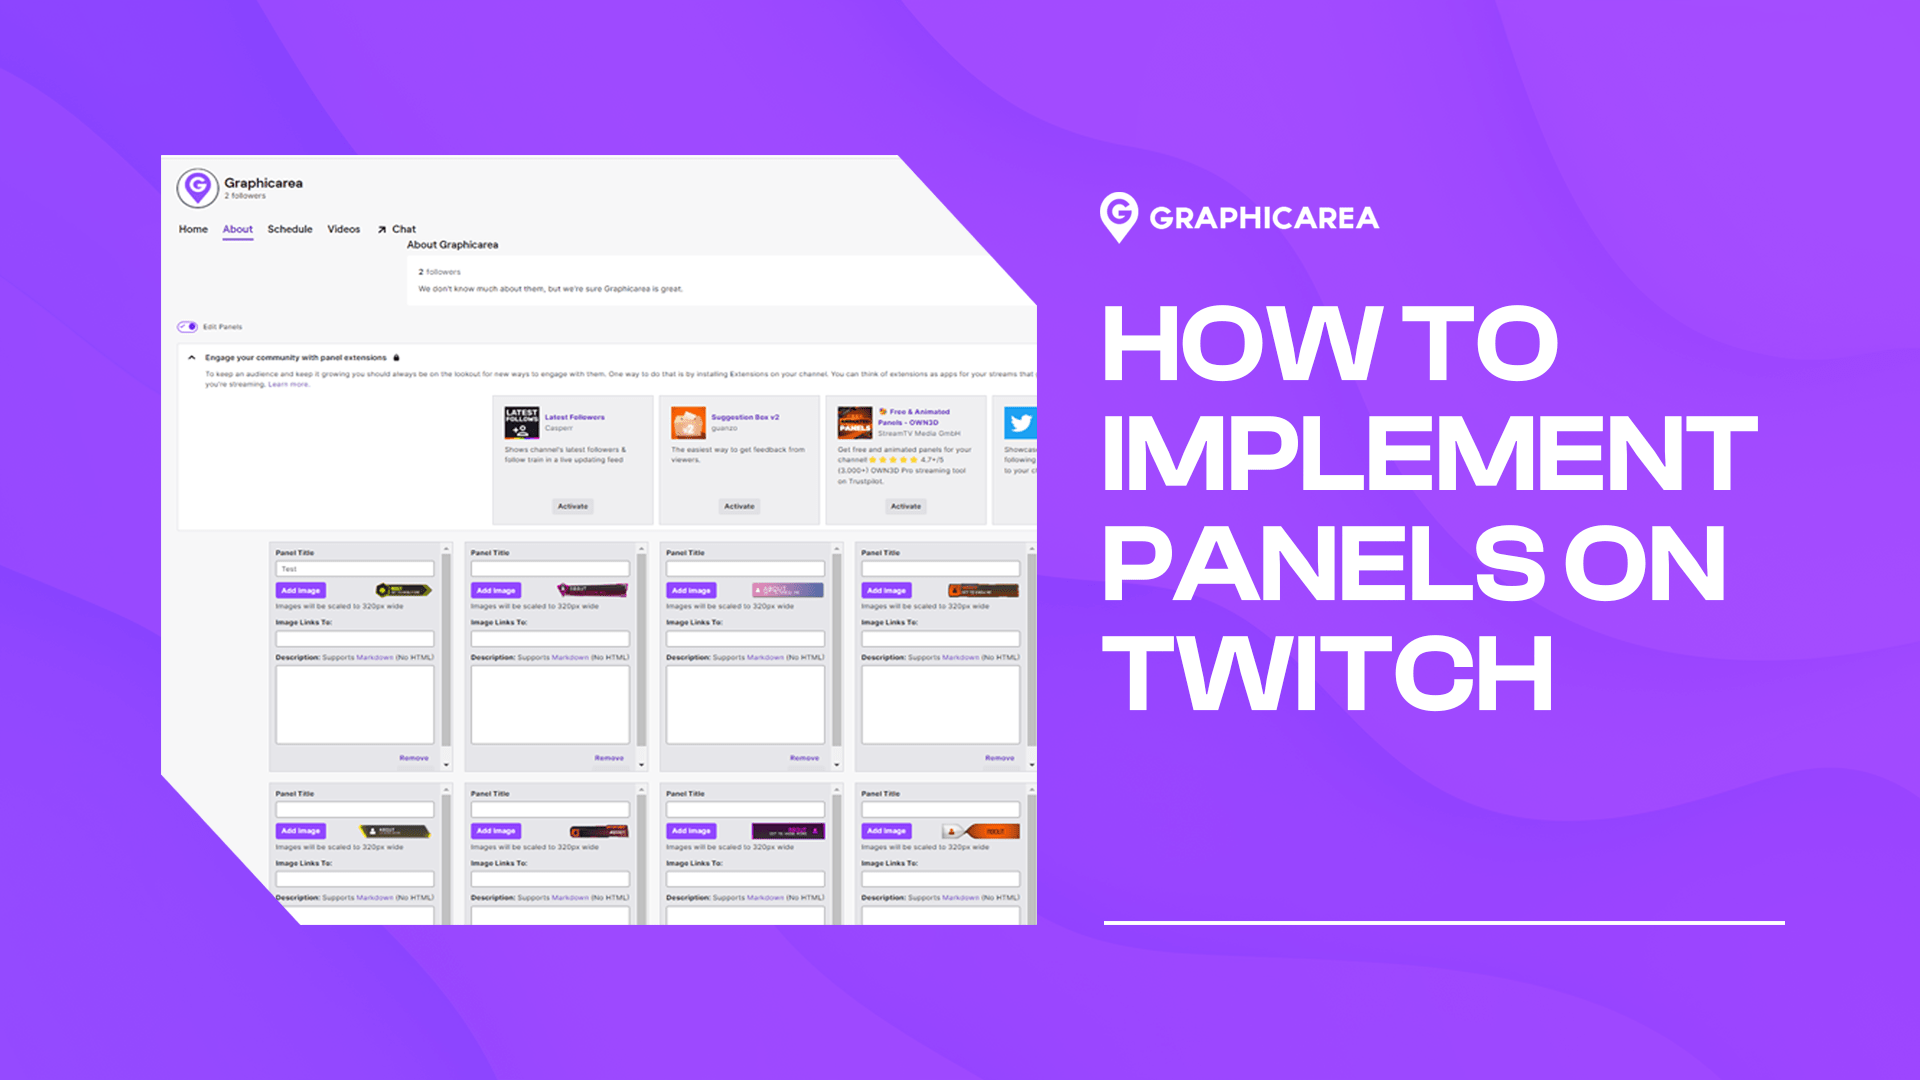
By clicking on the toggle “Edit Panels” you enable the editing mode for the panels section.

Upload panels
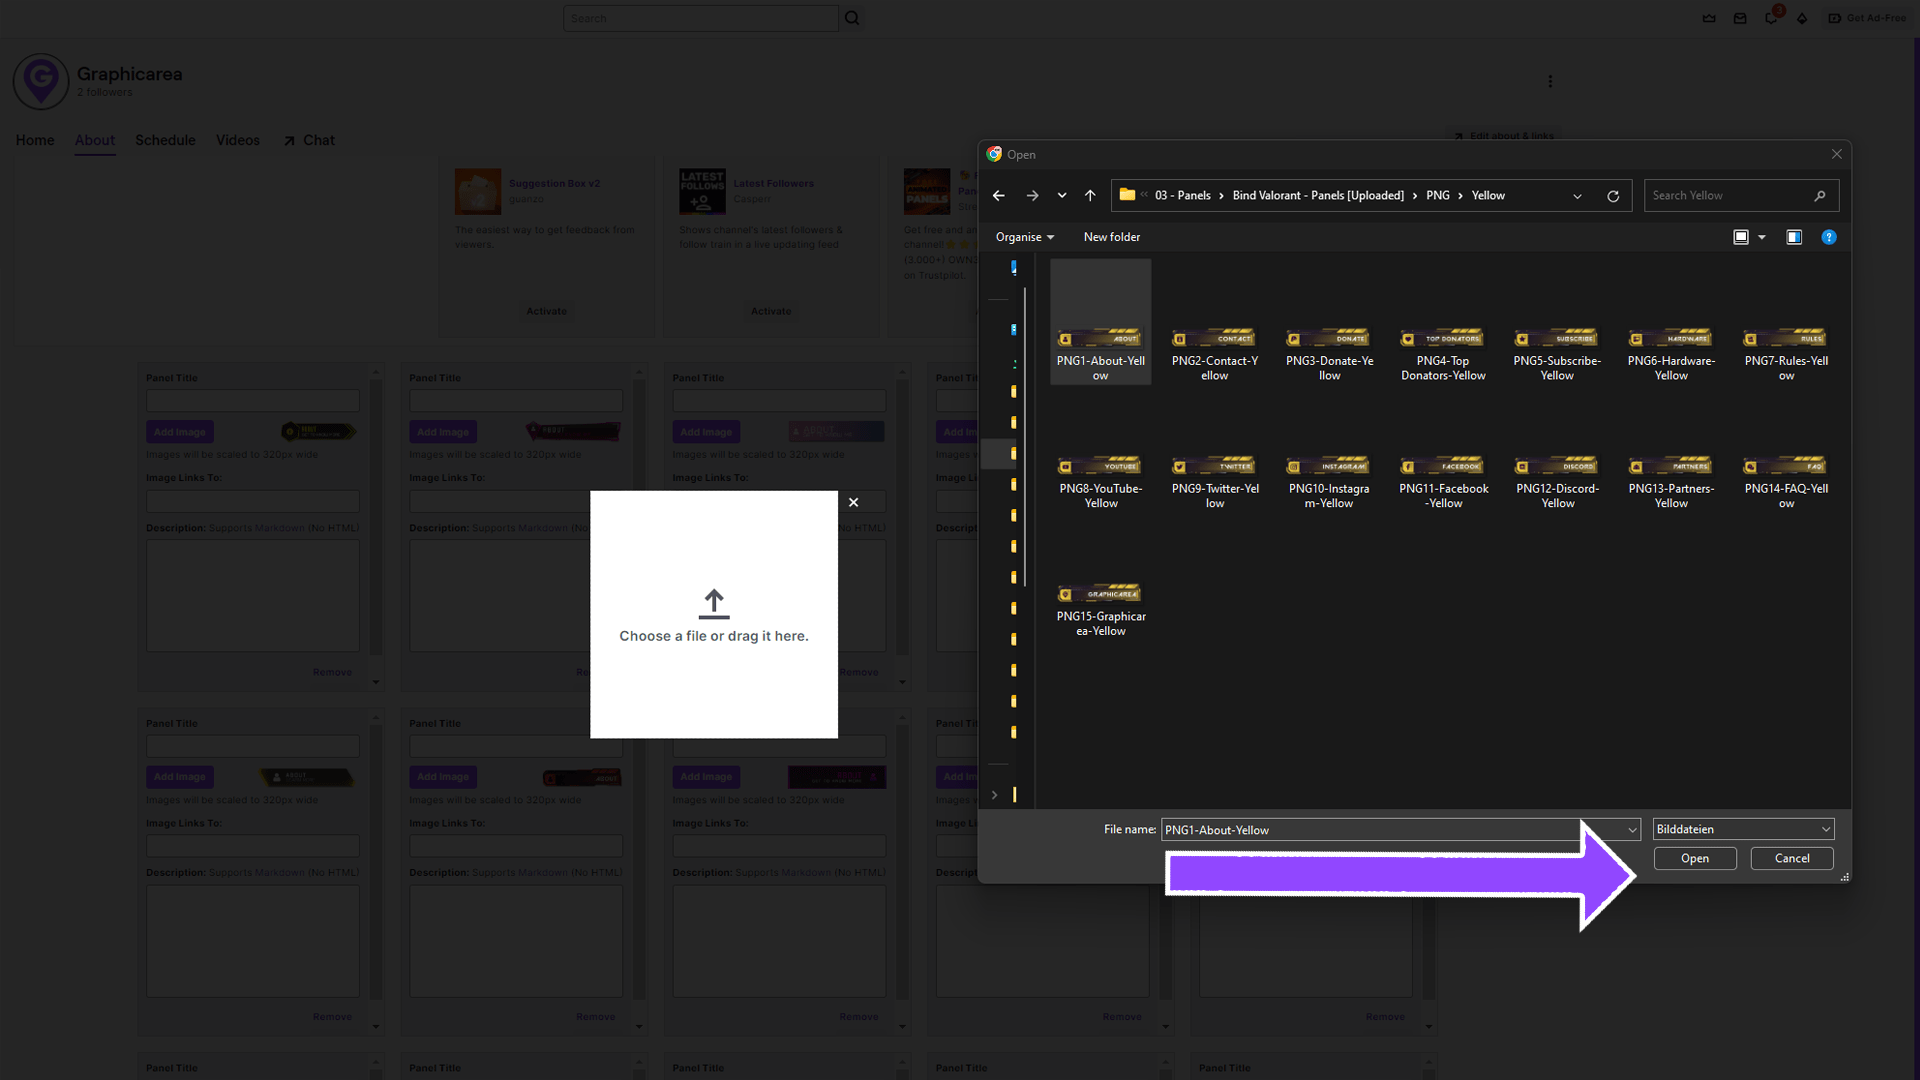
Here, you can edit and manage all the elements in your panels individually. To upload your Twitch panels, click on “Add Image” and select the image you want to use from your local drive. If you want the panel to include a link to another website (e.g., PayPal, YouTube), add the respective URL under “Image Links To.”
Panels usually do not need an extra title since it is often already included in the panel design. If desired, you can use the description area to add further context.
Save panels
Finally, save each panel individually by clicking on the respective “Submit” button. Once all changes are saved, you can exit the panels section. We recommend quickly exiting the editing mode to ensure everything is displayed correctly. Additionally, check if the links are working.
If you change your name on other social media platforms, the corresponding links may also need updating.
